


086-3196162516 086-13072030856
©2019 XUKANG All rights reserved
冀ICP备19002247号-2
E-mail:amber@you-ideal.com,252515198@qq.com
Add:No. 7, Yinhai Road, Economic Development Zone, Wei County, Hebei Province, China.
Whatsapp: +86 13072030856
Keywords: Level gauge,Flow meter,Magnetic flowmeter,Magnetic Level Gauge,Magnetic Float level gauge
Vortec Flow Meter,Glass Level Gauge,ultrasonic level gauge,Radar liquid level meter


Glass Plate Level Gauge Installation / Operation / Maintenance Guide
Receipt, Transport and Storage
On receipt of the equipment, the outside packing has to be checked for any damage incurred while shipment. If the packing case is damaged, the local carrier should be notified immediately regarding the liability. Remove the envelope containing the packing list. Carefully remove the equipment from the transport box and inspect for damaged or missing parts. Please check the case to be sure that all parts (e.g. accessories) have been unpacked. For transport or storing please only use the original packing case. Conditions for storing:
- Do not pile up the cases at any time!
- For storage, protect the units against heat frost, humidity, dust of chemical vapour/media.
- Storage temperature: 10°C [50 °F] up to 40 °C [104 °F].
The time of storage is unlimited, but pay attention to the agreed guarantee period.
WARNING
For transport of units with weights higher than 25 kg [55 lbs], only use lifting tools. Please take care of the centre of gravity signed on the packing (without sign if the centre is in the middle of the case). During transport do not enter the area of danger. Wear safety clothes (e.g. shoes) only.
Caution: Reflex Level Gauges are very heavy due to design reasons. Therefore, always suitable lifting tools are to be used!
NOTE
Always check, if the c to c length and the visible (measuring) length complies with our purchase order!
Pre-Installion Checks
WARNING
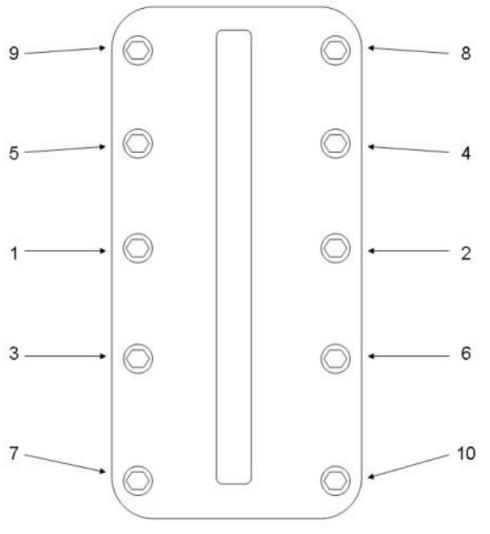
Absolutely check that all bolts and nuts of the level gauge have been tightened firmly. Lose bolts/nuts have to be tightened with a torque wrench with 20 to 25 Nm!
NOTE
If several bolts/nuts have not been tightened sufficiently the following sequence for tightening has to be observed:
Additionally check the TAG plate of the device. The engraved data has to comply with the data of the place of installation.
Installation
WARNING
Take care to wear appropriate safety clothes during installation!
WARNING
Absolutely use suitable lifting tools for installation!
Mounting steps:
- Perform a sight check. Especially take care of glass injuries.
- Ensure the instrument valves to be closed.
- Ensure the tank valves (at the connection flanges) to be closed.
- Adjust the flanges of the Reflex gauge to the flanges of the tank connection.
- Put the gaskets onto the flange face and insert the bolts/screws.
- Tighten the screws/nuts firmly.
Start up of the measurment
- Open the lower tank valve carefully.
- Open the lower instrument valve.
- Open the upper tank valve carefully.
- Open the upper instrument valve and let flow in the fluid carefully.
NOTE
On higher temperature applications it is absolutely necessary to re-tighten the screws after the first warm-up.
Maintenance
On a regular base, the glasses have to be checked for breaks or chemical corrosion (sight check). If the glasses show scratches, breakage or chemical contamination, they have to be replaced immediately.
To perform a glass replacement, as a first set the tank valves and, as well the instrument valves have to be closed. After that, the gauge body has to be drained by the drain plug (resp. drain valve. Possible remainders are to be removed by purging.
Open the damaged section and replace the glass and the gasket. At the same time, the sealing faces have to be checked and cleaned.
Used gaskets cannot be re-installed in any case!
Glass and Cover are to be remounted again. Take care that the glass does not touch any metal parts. After the insertion of the glass the screws/nuts are to be tightened hand-tight. Once the glass is placed correctly in it’s seat, the screws/nuts are to be tightened by means of a torque wrench (recommended torque: 20 to 30 Nm). Follow the screwing sequence as per the sketch on page 6. Depending on pressure and temperature, the screws have to be tightened several times.